

Contents
Push notifications are essential when it comes to user engagement with your mobile app, and doing so in a noninvasive way can go a long way to making your app more successful. This tutorial will show you how to generate the certificate necessary to send push notifications through your iOS app.
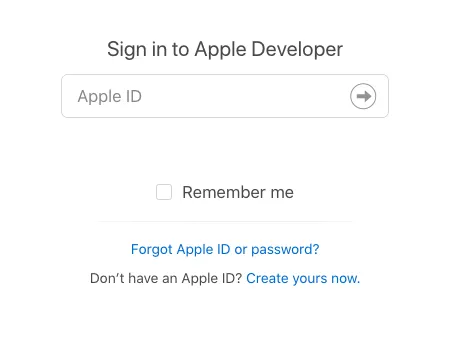
First, go to your Apple Developer page and login.
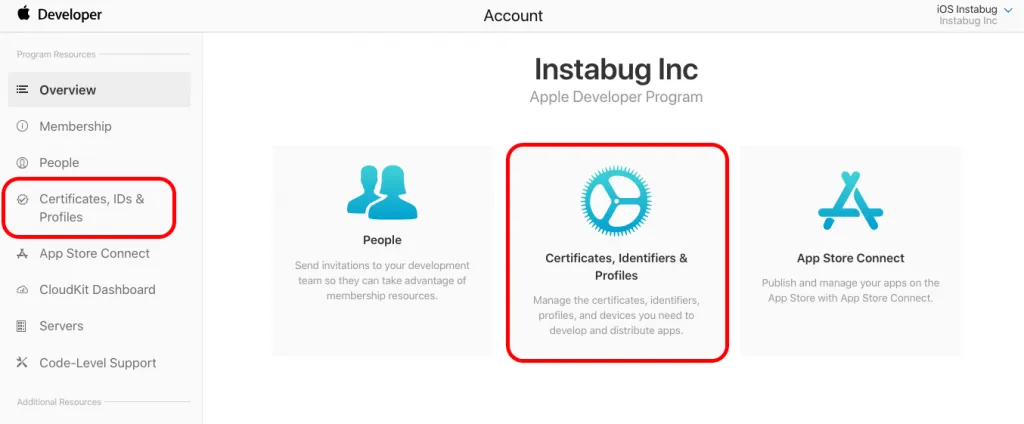
After being redirected to the following screen you’ll want to Click on Certificates, Identifiers & Profiles.
Now let's go through the steps that will allow you to generate the .PEM file.
Click on the + button in the upper right-hand corner.

<
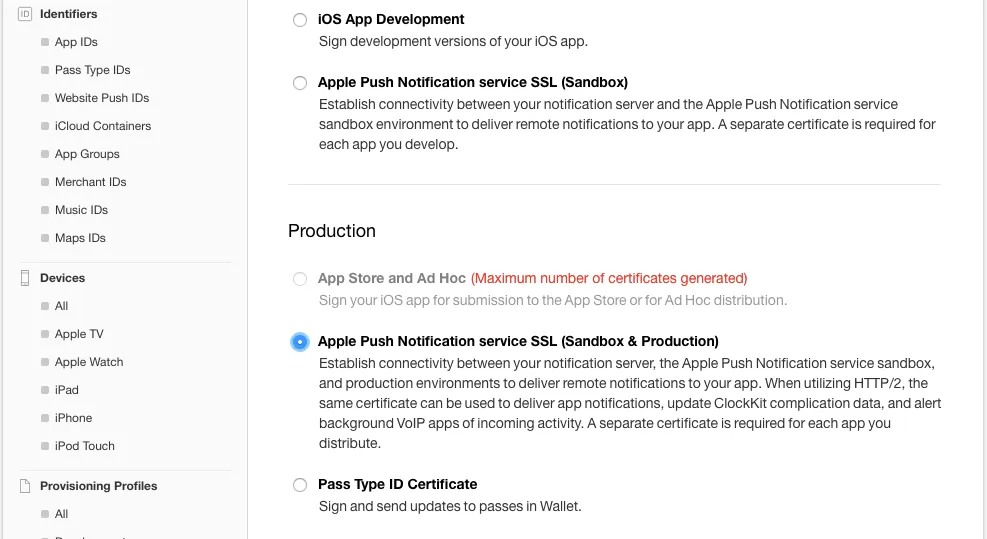
Select from the options “Apple Push Notification service SSL (Production)” and then click Continue.
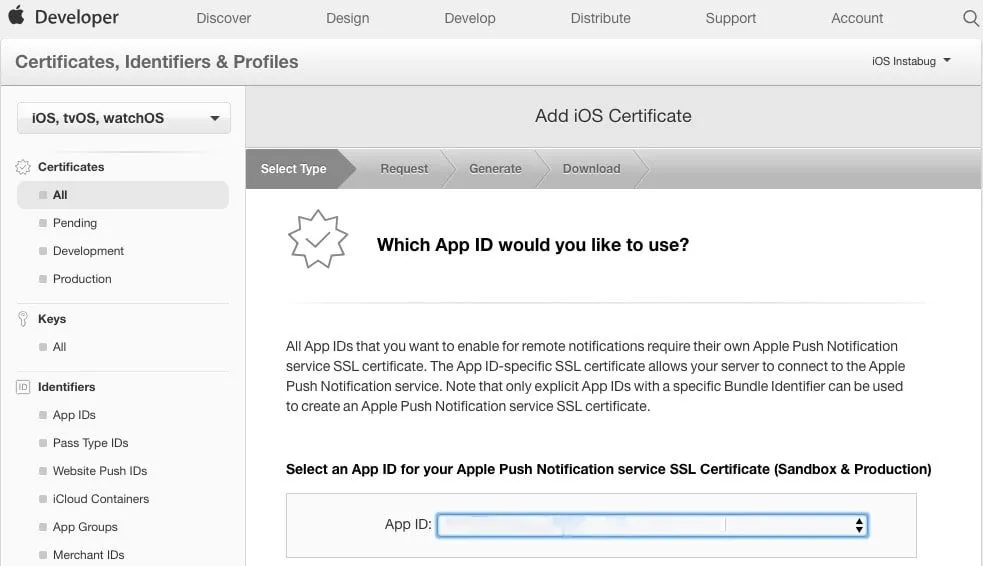
Now, from the App ID drop down list, select the app you want to generate the certificate for then click Continue.
Follow the instructions under “Create a CSR file” for creating a Certificate Signing Request.

To help you navigate the steps provided by Apple, here are a few step screenshots to help you create a CSR file.
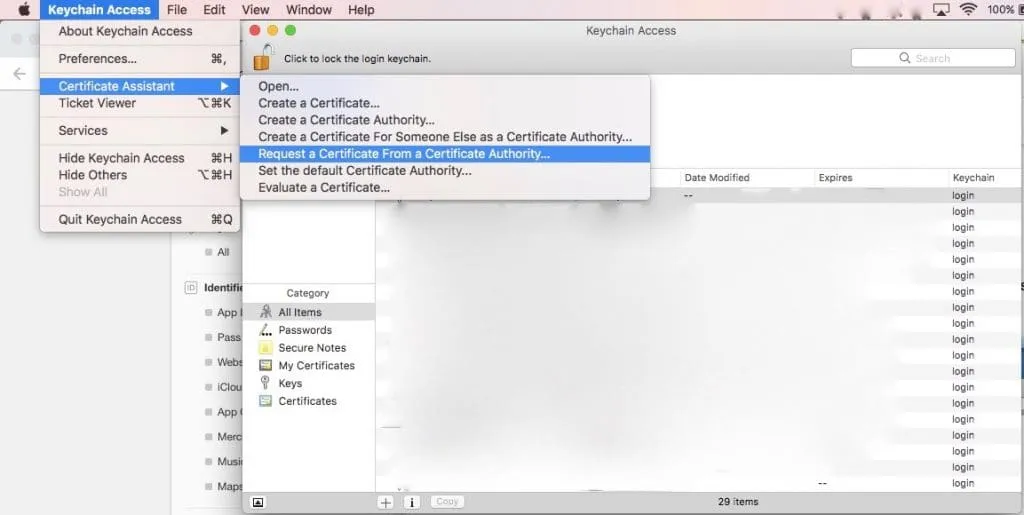
On your Mac open the folder Applications > Utilities > launch Keychain Access. From the Keychain Access menu, select Certificate Assistance > Request a Certificate From a Certificate Authority.
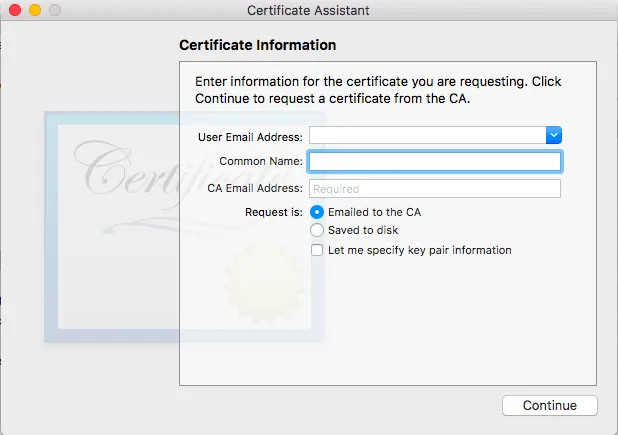
Fill out the required certificate information. Under “Request is” select Saved to disk and then click Continue to create.
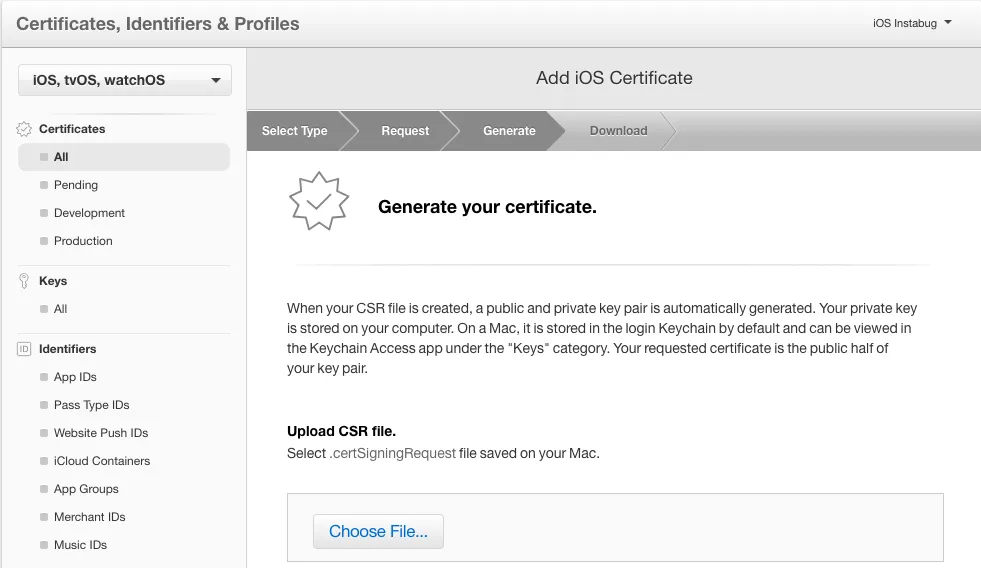
After generating, go back to upload the “.certSigningRequest” file, then click Generate.
Click on Done to finish the registration process. As a result the page will be refreshed and you'll see the certificate:

Click on the Download button in order to download the certificate you’ve just created. After downloading the .CER file, open it to install the certificate into Keychain Access on your Mac.
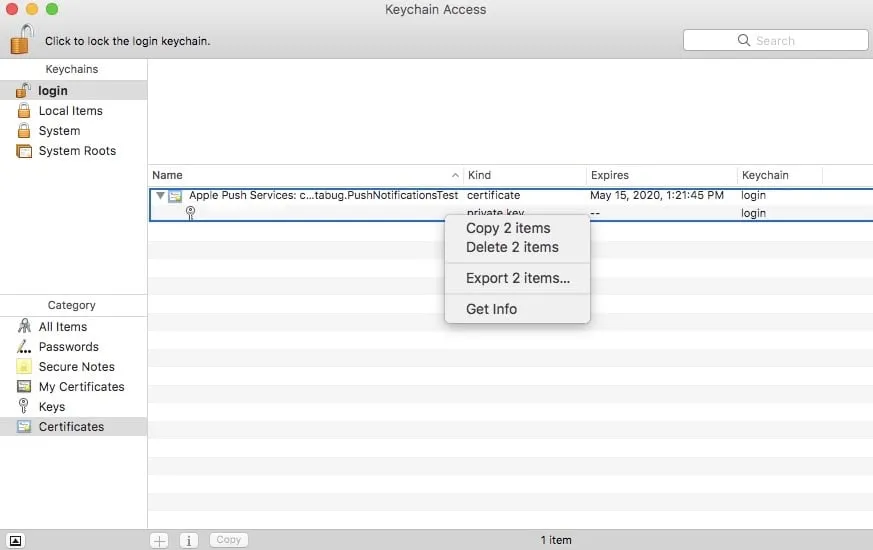
Now, go back to Keychain Access on your Mac, you will find the certificate you have just installed. The certificate will be shown with “Apple Production iOS Push Services” and will be followed by your app’s bundleID.
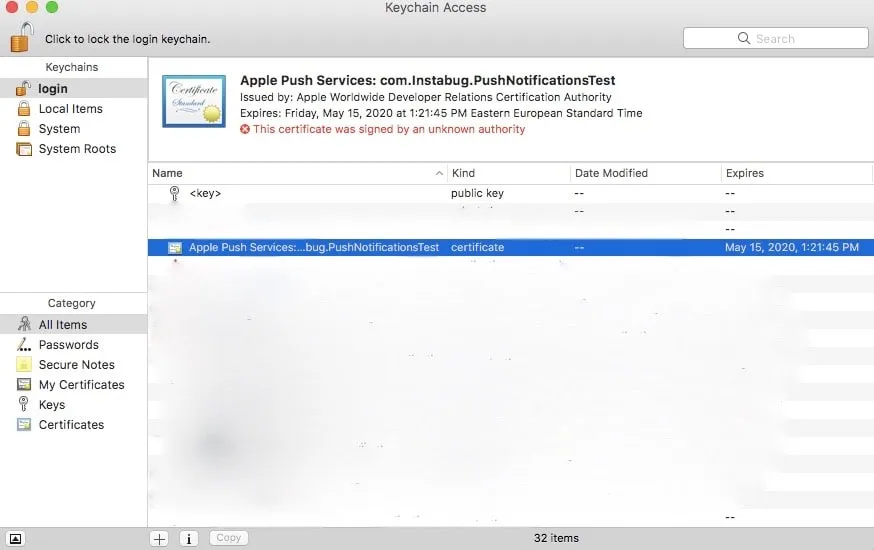
Expand the certificate. In it you should see the private key with either your name or your company name. Select both items, right click, and choose Export 2 items, as shown below:
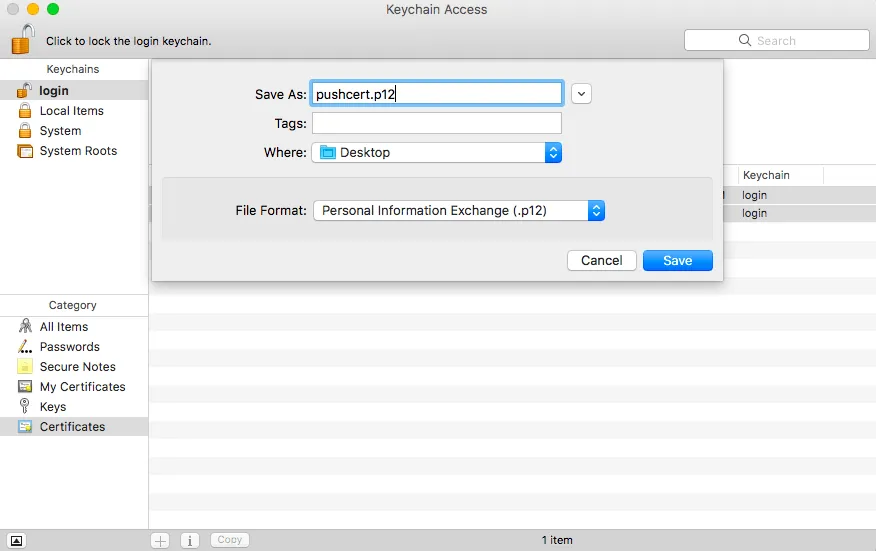
You will have the option to save the .p12 file. Name the file “pushcert.p12″ and save to your Desktop for convenience.
Easy so far? Great! Now for the tough part.
Open Terminal on your Mac, and run the following commands
All done! Just one final step to avoid any confusion.
Remove pushcert.p12 from your Desktop to avoid mis-uploading it to the Build Your Own area. Just open Terminal on your Mac, and run the following commands:
OK! You've successfully generated a .PEM file. Now you can send your app users a push notification every time you reply to them through Instabug.
Want to try our latest AI features?
Sign up to the closed beta now
Oops! Something went wrong while submitting the form.
Learn more:
- Push Notifications Tools You Need To Know About
- What Is App Engagement and Why Is It Important?
- How to Fix the Top 5 iOS Crashes
- How to Fix the Top 5 Android Crashes
Instabug empowers mobile teams to maintain industry-leading apps with mobile-focused, user-centric stability and performance monitoring.
Visit our sandbox or book a demo to see how Instabug can help your app


